Upgrading to a solid-state drive (SSD) is a great way to boost your system’s performance. Whether you’re looking to speed up your system, increase storage capacity, or just replace an old hard drive, installing an SSD can bring your PC or desktop back to life. This guide will take you through the steps to install an SSD, and hopefully make the process simple and straightforward. Note: Please make sure you have a backup of all your important data before installing an SSD in your desktop computer or laptop.
Proper Installation
Correctly installing an SSD is crucial for ensuring its performance and longevity. By following the right procedures, you can avoid issues and maximize the full benefit of your new SSD.
Here are a few reasons why you should focus on proper SSD installation:
- Data Integrity: Proper installation minimizes the risk of data loss or corruption.
- System Performance: Correctly installed SSDs enhance speed, boot times, and overall system responsiveness.
- Hardware Longevity: Proper steps prevent physical damage, extending the lifespan of your components.
- Warranty Compliance: Following manufacturer guidelines for installation maintains the product warranty, protecting your investment.
Understanding the importance of proper installation sets you up for a successful SSD upgrade. Next, we’ll cover needed installation tools and preparations.
Preparing to Install an SSD
Follow these steps to ensure a smooth SSD installation process.
Choose the Right SSD
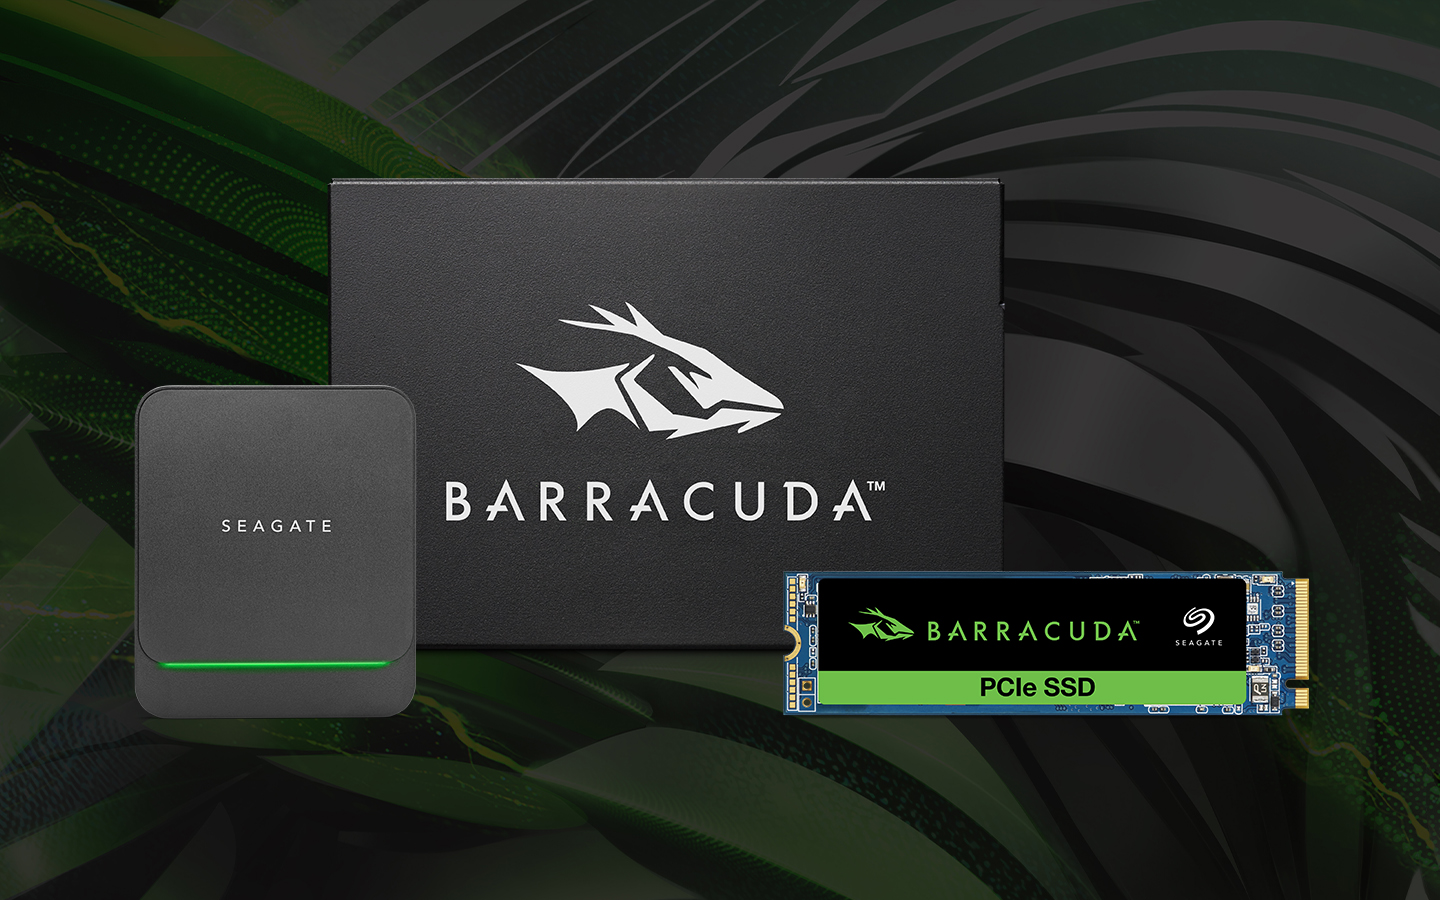
The first thing to do is to select the appropriate SSD for your computer system. Consider factors like storage capacity, read/write speeds, and compatibility with your computer. Seagate offers a wide range of SSDs designed to meet different needs, from everyday computing to high-performance gaming.
[Formatting and Partitioning]
Gather Necessary Tools
To install an SSD, gather a few essential tools:
- Screwdriver (check if you need a flat head or Phillips)
- SSD
- Mounting brackets or adapters (if required)
- SATA data and power cables (if not already included)
Before proceeding with the installation, it’s crucial to back up all your important data. This one bit of preparation keeps valuable information safe in case something goes wrong during the installation process.
Step-by-Step Installation Process for SATA SSD
Serial ATA (SATA) SSDs are a popular type of SSD known for their balance of performance and cost. They connect to the computer through the SATA interface, which is the same interface used by traditional hard drives.
Follow these steps to install your SATA SSD.
Open Your PC Case
- Power Down: Ensure your computer is turned off and unplugged from the power source.
- Remove Side Panel: Remove the screws holding the side panel in place, then slide the panel off.
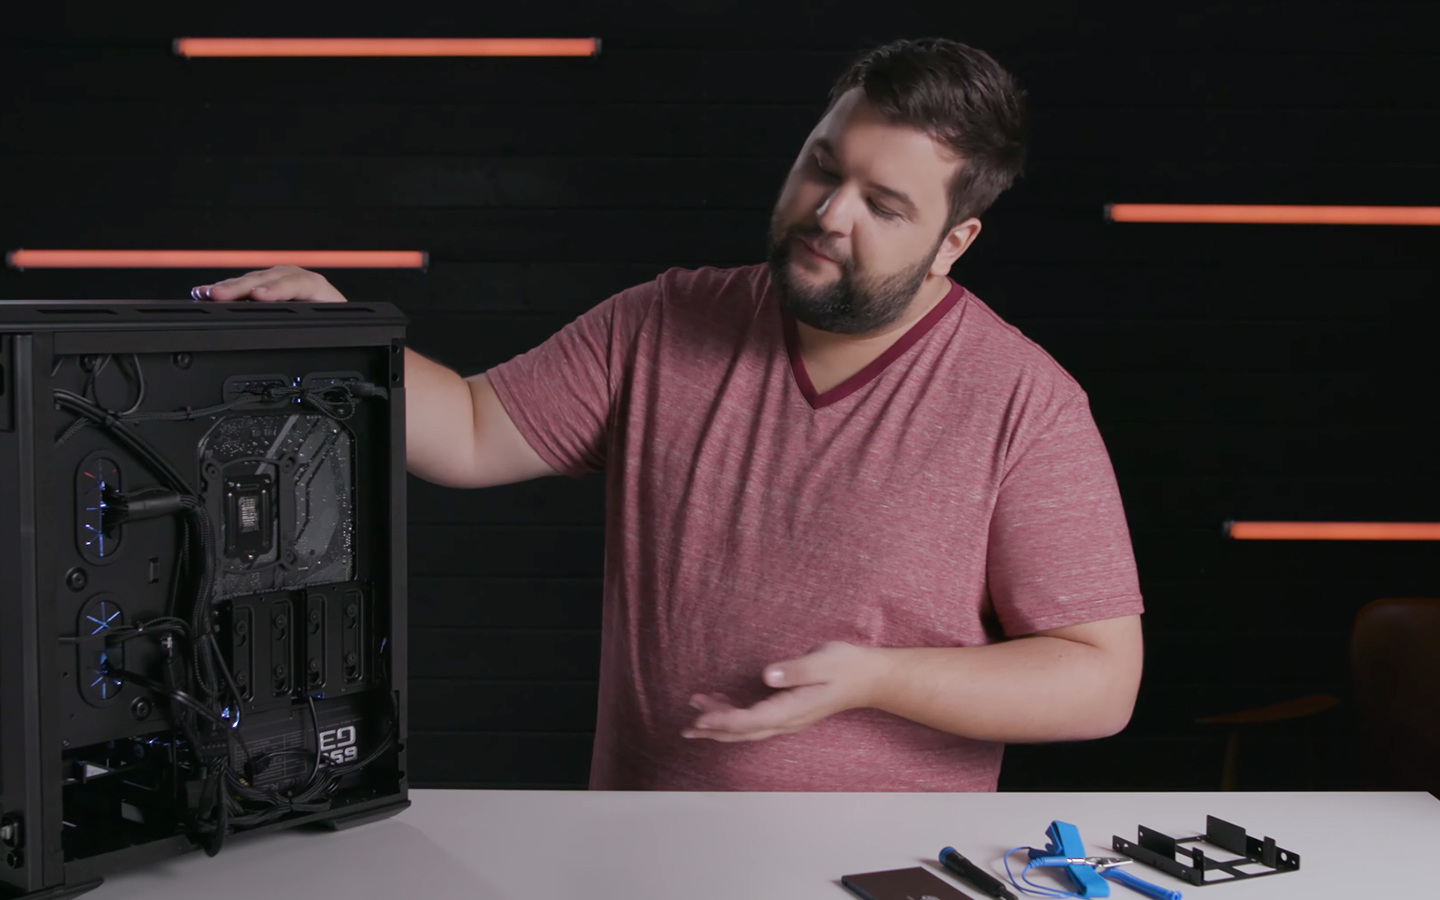
[Removing the side panel of a desktop PC]
Mount the SSD
- Locate the Mounting Bracket: Find an available mounting bracket or bay inside your computer case.
- Secure the SSD: If your case has a dedicated SSD mount, simply slide the SSD into place. If not, use the included mounting brackets or adapters to secure it.
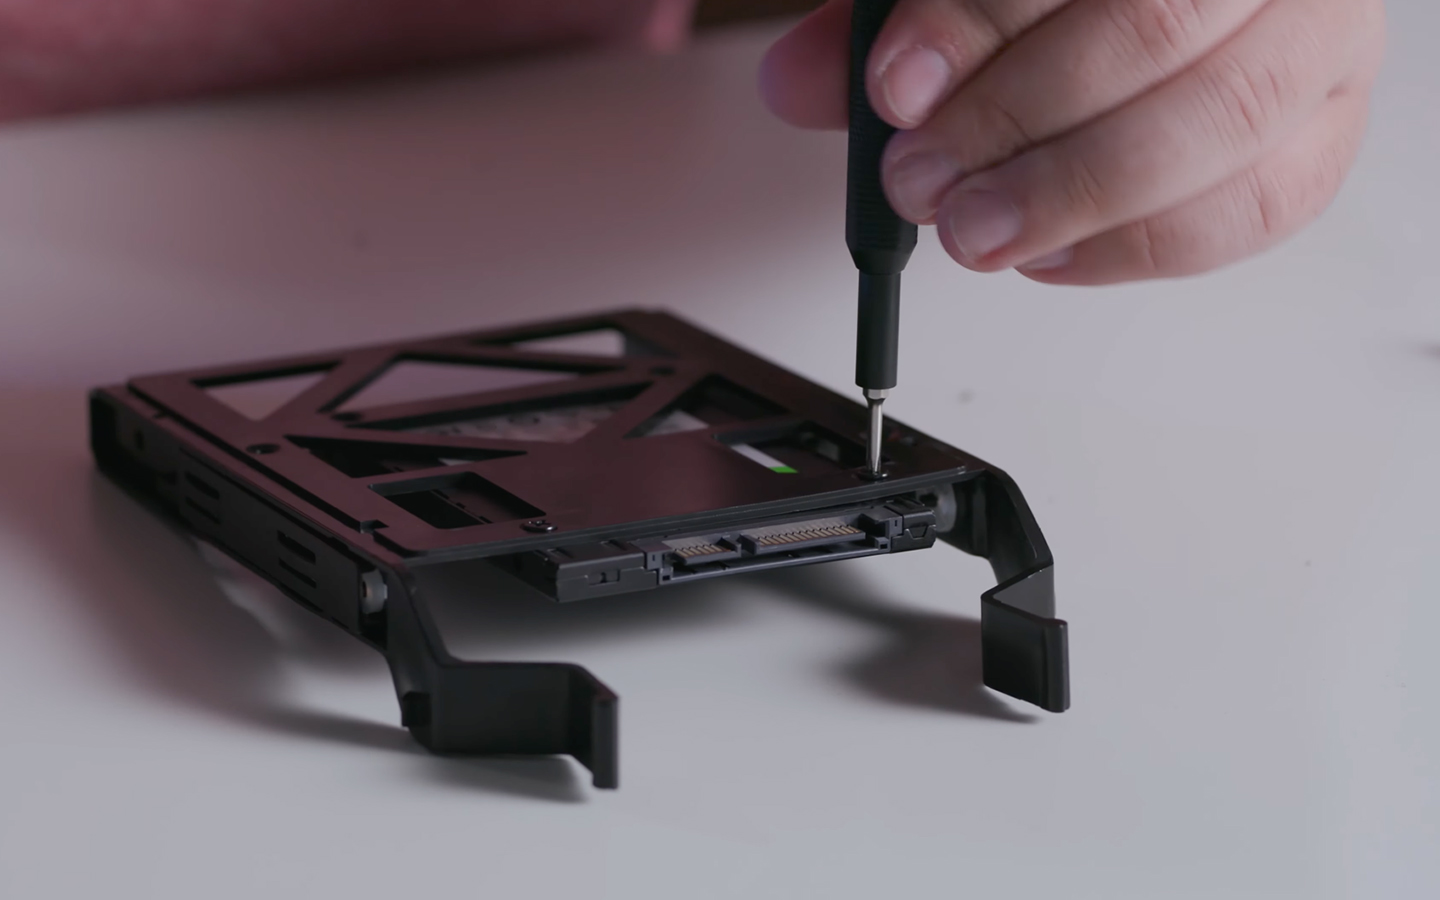
[Attaching an SSD to a mounting bracket]
Connect Power and Data Cables
- Connect the SATA Cable: Attach one end of the SATA data cable to the SSD and the other to an available SATA port on your motherboard.
- Connect the Power Cable: Plug the SATA power cable from the power supply into the SSD.
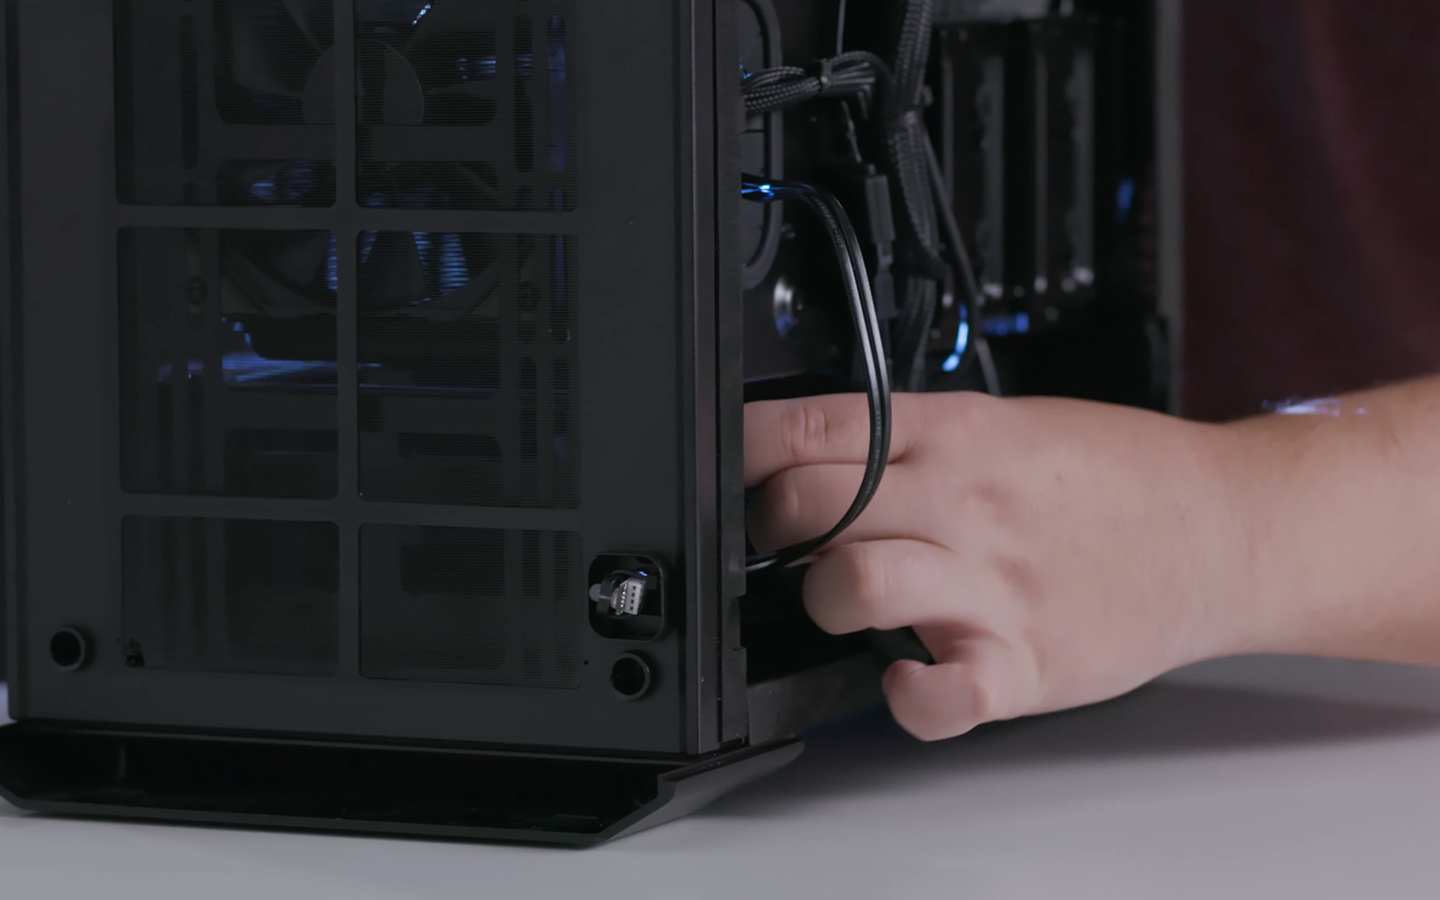
[Attaching power and data cables to a SATA SSD]
Close the PC Case
- Reattach the Side Panel: Once everything is connected, slide the side panel back into place and secure it with screws.
- Power On: Plug your computer back into the power source and turn it on.
With the SSD installed, you can proceed with the software setup, so the system recognizes the new drive.
See also: FireCuda Special Edition SSD Installation Guide
Step-by-Step Installation Process for M.2 NVMe
M.2 NVMe non-volatile memory express (NVMe) SSDs are a type of solid-state drive that connects directly to the motherboard through the M.2 slot, making them compact and efficient.
Follow these steps to install your M.2 NVMe SSD into your PC or desktop.
Open the PC Case
- Power Down: Ensure your computer is turned off and unplugged from the power source.
- Remove Side Panel: Remove the screws holding the side panel in place, then slide the panel off.
Locate the M.2 Slot
- Find the M.2 Slot: Locate the M.2 slot on your motherboard. It’s usually labeled and may have a small screw already in place.
- Remove the Screw: Carefully remove the screw from the M.2 slot and set it aside (you’ll need it later).
Install the M.2 NVMe SSD
- Insert the SSD: Align the connector edge of the M.2 NVMe SSD with the M.2 slot and insert it at a slight angle.
- Secure the SSD: Once inserted, gently push the SSD down until it lies flat against the motherboard. Put the SSD in place using the screw you removed earlier.
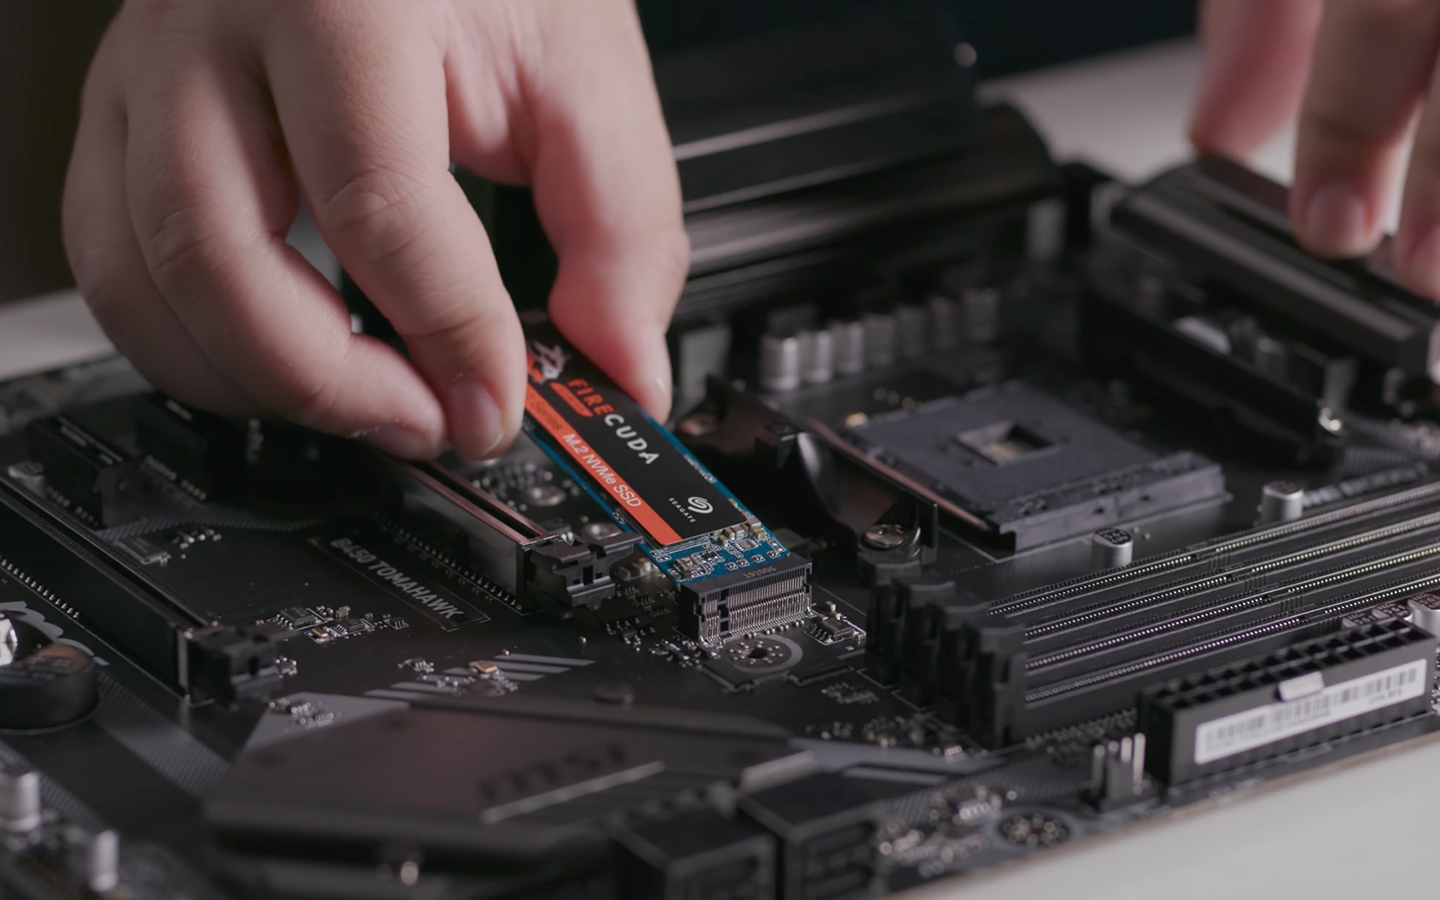
[Inserting the M.2 SSD into its motherboard socket]
Close the PC Case
- Reattach the Side Panel:Once the SSD is installed, slide the side panel back into place and secure it with screws.
- Power On:Plug your computer back into the power source and turn it on.
With the M.2 NVMe SSD now installed, you can proceed with the software setup to ensure your system recognizes the new drive and takes full advantage of its enhanced speed and performance.
See also: Install an M.2 SSD into a PS5™.
Configuring the SSD
After physically installing your SSD, the next step is to configure it so your system recognizes and utilizes the new drive properly. This involves setting up the BIOS/UEFI, formatting and partitioning the drive, and (optionally) transferring data from your old drive.
Set Up BIOS/UEFI
- Enter BIOS/UEFI:Restart your computer and press the designated key (usually F2, F10, Del, or Esc) during startup to enter the BIOS/UEFI settings.
- Detect the SSD: Navigate to the storage settings or boot menu to ensure your new SSD is detected. If it’s not listed, double-check the physical connections to ensure your SSD is properly connected to your computer.
- Set Boot Priority: If you’re installing the SSD as your primary drive, set it as the first boot device in the boot priority order.
Formatting and Partitioning
- Access Disk Management: Once the system boots up, go to Disk Management. Access this by right clicking the Start button and selecting Disk Management.
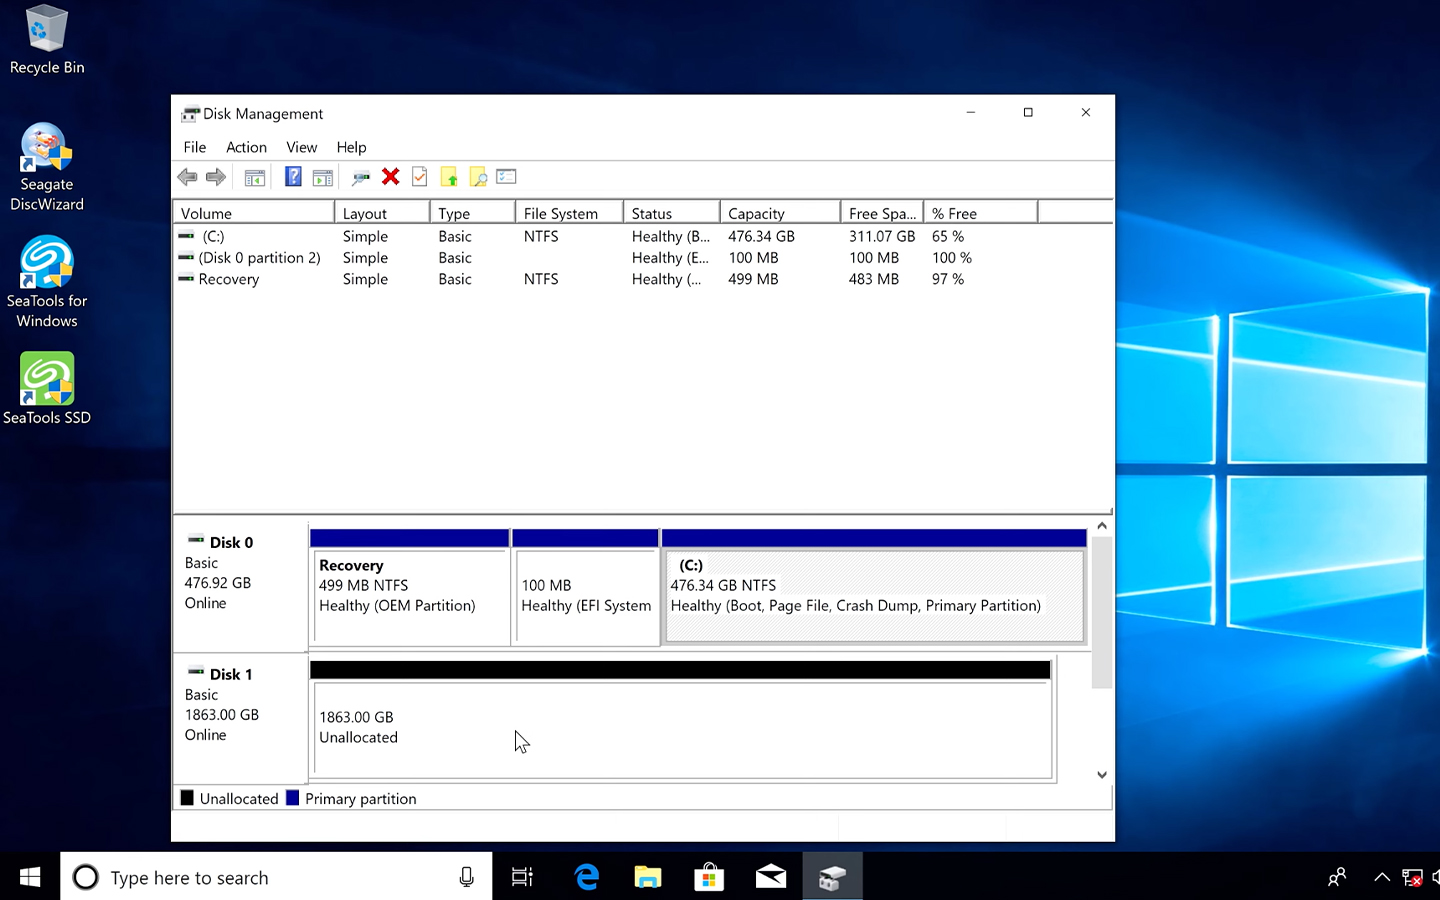
[Windows disk management tool]
Initialize the SSD: If prompted, initialize the SSD by selecting either master boot record (MBR) or GUID partition table (GPT) as the partition style. GPT is recommended for modern systems.
Create a New Volume: Right-click on the unallocated space on your SSD, select "New Simple Volume," and follow the wizard to format and partition the drive. Assign a drive letter and choose NTFS as the file system.
Transfer Data (Optional)
- Choose a Cloning Tool: Popular options include software like Seagate DiscWizard™.
- Clone Your Drive: Follow the instructions of the chosen software to clone your existing drive to the new SSD. This process will copy all your data—including the operating system and applications—to the SSD.
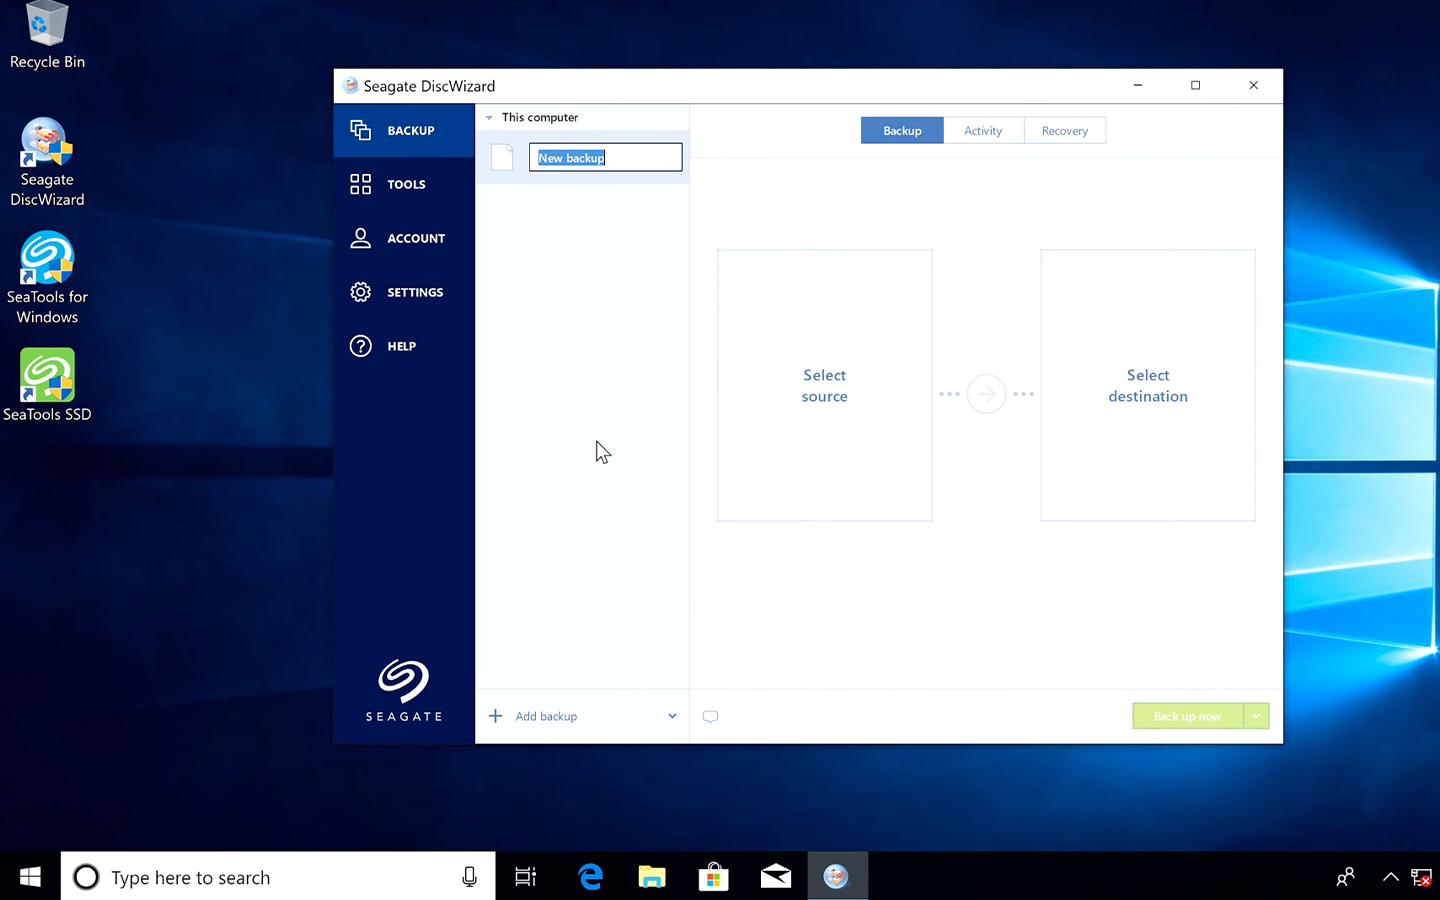
[Seagate DiskWizard tool]
By properly configuring your SSD, you’ll have a drive that functions optimally and provides the needed performance boost.
Troubleshooting Common Issues
Even with careful installation and configuration, you might encounter some common issues with your SSD. Here are solutions to help you troubleshoot and resolve these problems.
SSD Not Recognized
- Check Connections: Cables should all be connected securely to the SSD and the motherboard. For M.2 drives, make sure it’s correctly seated in the slot and secured with a screw.
- Update BIOS/UEFI: An outdated BIOS/UEFI version can sometimes cause recognition issues. Visit your motherboard manufacturer’s website for the latest BIOS/UEFI update.
- Enable AHCI Mode: In BIOS/UEFI, make sure AHCI advanced host controller interface (AHCI) mode is enabled for SATA drives, as this can improve compatibility and performance.
Boot Issues
- Check Boot Order: Ensure the SSD is set as the primary boot device in the BIOS/UEFI settings.
- Repair Boot Sector: Use a Windows® installation media to repair the boot sector. Boot from the media, select Repair Your Computer, and use the Startup Repair tool.
- Reinstall OS:If boot issues persist, you may need to reinstall the operating system on the SSD. Make sure to back up any important data before proceeding.
Data Transfer Problems
- Check Cloning Software:Confirm your cloning software is compatible with your system and SSD. Update to the latest version if needed.
- Verify Disk Space: Make sure the destination SSD has enough space to accommodate all the data from the source drive. If space is tight, delete unnecessary files.
- Run Disk Check: Use built-in tools like CHKDSK in Windows to check the source drive for errors before starting the data transfer.
Install Your SSD with Confidence
Correctly installing an SSD is essential for enhancing your computer’s performance and reliability. By following this guide, you will be confident that your SSD is installed correctly and configured for optimal performance. If you encounter any issues or need further assistance, Seagate offers a range of resources and customer support options.


