Cet article vous a-t-il été utile ?
Comment pourrions-nous l'améliorer ?
Getting Started
Customers can access buckets through a DNS-style or virtual host interface, as well as through the Lyve Cloud console graphical user interface (GUI):
- DNS-style interface: https://$bucketname.$endpoint/$path/
- Virtual host interface: https://$endpoint/$bucketname/$path
- Lyve Cloud console: console.<reseller>.lyve.seagate.com
Where $endpoint is: s3.<site>.<reseller>.lyve.seagate.com
S3 usage overview
Applications need a bucket to store and read data, and to access data, applications need keys.
Creating keys requires the following steps:
- Create a bucket.
- Create a policy allowing access to the bucket.
- Create a user account for the user accessing the bucket.
- Assign the policy to the user.
- Create an access key for the user, which a third-party application can then use.
Roles and types (account identities)
There are three distinct roles for those who access the Lyve Cloud Object Storage:
| Role | Description |
|---|---|
| Root | The initial and main identity of the customer account. The root user has full and automatic permission access to all buckets and objects, which cannot be removed. The root account cannot be deleted. |
| Admin | Can manage users and policies, with the exception of the root account. Can perform operations on buckets according to the policies that are attached to the user. Can change their own password and create access/secret key pairs for access. |
| Sub-user | Can perform operations on buckets according to the policies that are attached to the user. Can change their own password and create access/secret key pairs for access. |
Access and configuration
To access the account, use console.<reseller>.lyve.seagate.com.
Once logged in, you can go to the account page to configure multifactor authentication (MFA), change the account password, and generate access/secret keys. To access the account page, select your profile in the upper right corner of the top menu bar, and then select My Account.

Create a bucket
Each bucket is a container for objects. To create a bucket, complete the following steps.
- Select Buckets in the top menu bar.
- Click on the Add Bucket icon in the upper right corner.
- In the dialog, enter the required information. Select the sites where your bucket will be located. If you select more than one site, the bucket will be automatically replicated to each site.
- Using access mode, buckets can be set as Private, Public, or Custom. Check the boxes for the permissions that you want to provide. All new buckets are private by default.
The format for accessing a public bucket is: https://bucketname.endpoint/path where there is case sensitivity in the letters. Such as:
https://samplefiles.s3.us-west-1.sv15.lyve.seagate.com/Sample.jpeg
To change the access mode for an existing bucket:
- Select Buckets in the top menu bar.
- Select the Wrench icon in the 'Actions' column and select an access mode.
View buckets
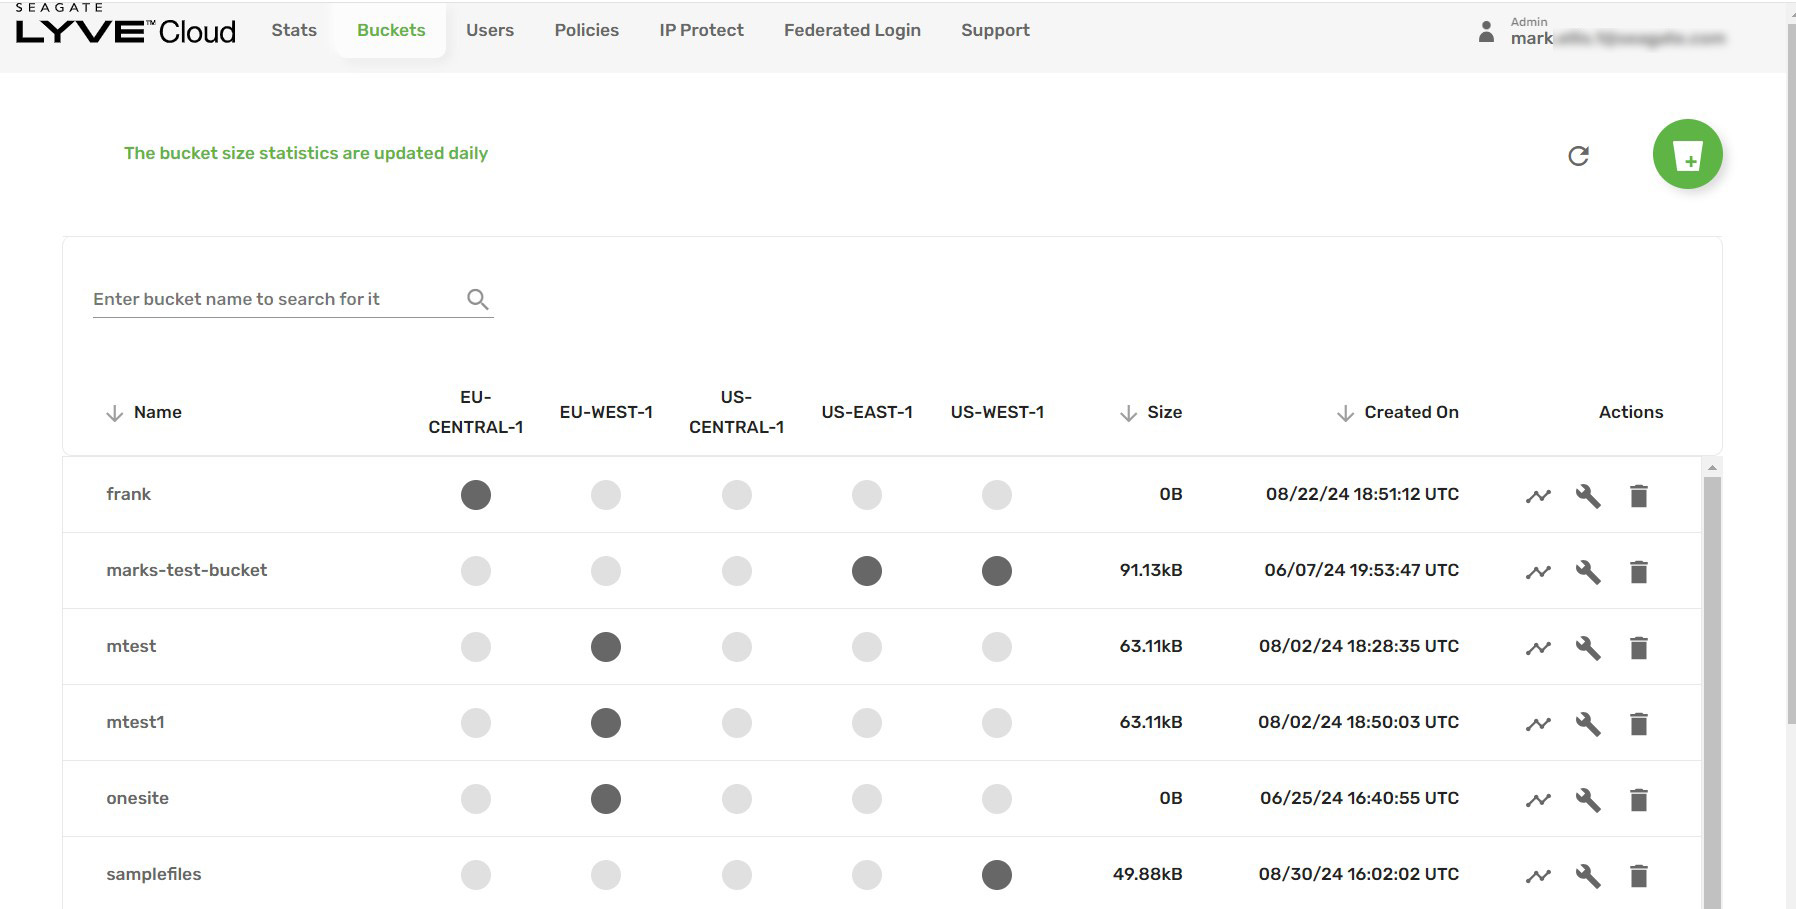
Select the Buckets tab in the top menu bar to view the current buckets in the account and the site(s) where that data is located.

Use the icons in the Actions column to:
- Enable bucket logging.
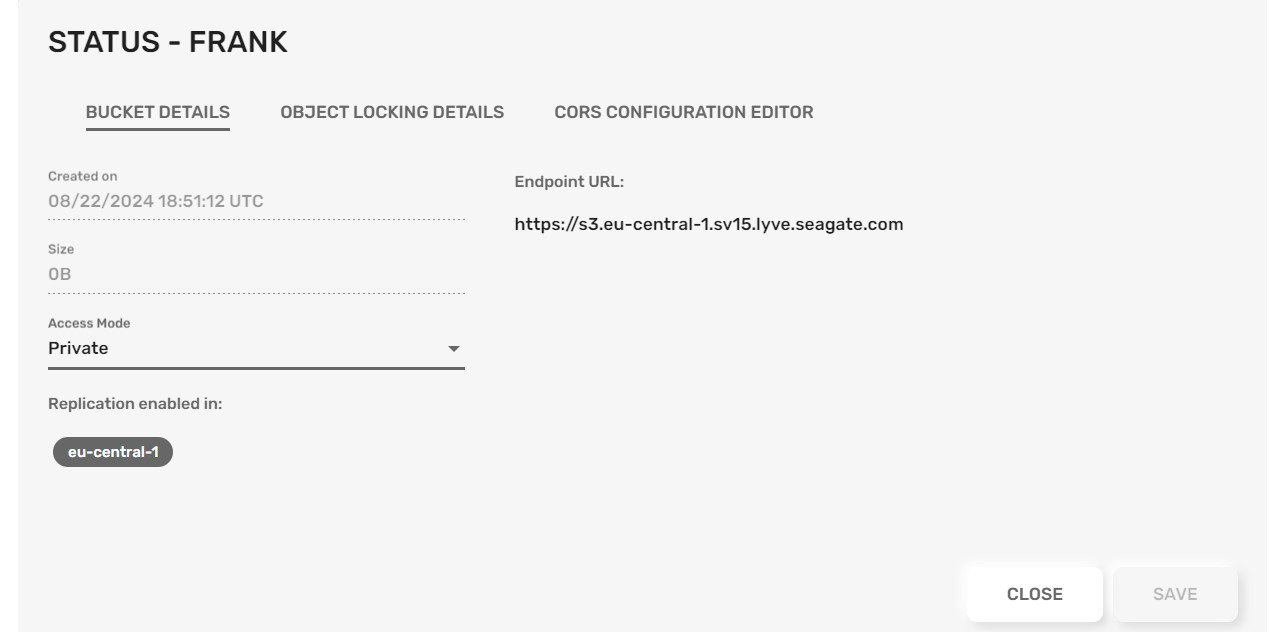
- View bucket details.
- Delete the bucket.

Delete a bucket
To delete a bucket, typically you have to empty all of its objects and folders, and then delete all of its associated policies. Lyve Cloud Object Storage offers an option to delete the bucket and all of its contents.
To delete a bucket:
- Select Buckets in the top navigation bar.
- In the 'Actions' column, select the Trash icon.
- Use the dropdown menu to select your delete option. If you delete a bucket and all of its contents, do not close or refresh your browser while operations are in progress. Note that the command may need to be run several times.
Create users
To create a new user:
- Select the User tab in the top menu bar, and then select the Add icon.
- Enter the name of the user you want to give access to. (Optional) Enter the email address to use for the account. The email address is not validated. It's only used for login purposes and to receive password reset links.
- Select CREATE USER.
- On the Users page, select the user's email to edit their permissions.
Create policies
To create policies in your bucket:
- Select Policies in the top menu bar.
- Select the CREATE POLICIES button in the top right corner.
- Enter a name and description for your new policy.
- Select a bucket under the naming schema, and then select the permissions to apply to that bucket.
- Select SAVE.

Generate access keys
Third-party applications access an S3 system with the use of access keys. See below for instructions on generating access keys.
It is important to note the following about access keys.
- A root user without an {AccessKeyID, SecretAccessKey} pair cannot generate a presigned link. The request will not send a valid credentials object and will fail.
- The current user cannot generate a presigned link without an {AccessKeyID, SecretAccessKey} pair.
- The root user of an account does not have an {AccessKeyID, SecretAccessKey} pair generated for them by default.
To create application credentials (access/secret key pairs) for the account:
- Using the Lyve Cloud console, select your name in the upper right corner, and then select My Account.
- Select GENERATE KEY in the bottom right corner.

- Download the CSV key and manage as you normally would, such as with a password manager.
- Once downloaded, use your favorite .CSV compatible application (Excel, Google Sheets, Numbers) to view the contents. For a onetime view, select the Eye icon for the secret key.
Set up multifactor authentication
To set up multifactor authentication:
- Using the web GUI, select your name in the upper right corner, and then select My Account.
- Select ENABLE 2FA.
- A dialog appears displaying a QR code and a secret key. Most MFA apps will ask you to scan the QR code to confirm the setup. The MFA app will then provide a token that needs to be entered into the available space below the QR code.
- Once the setup is complete, a number of recovery keys will be given in case you lose access to your MFA device. Make sure to copy these and keep them in a safe place. This will be the only way to recover your locked account.
IP Protect
By default, the IP address is 0.0.0.0/0, which means there are no restricted IP addresses. IP Protect allows you to explicitly ensure that only a specific IP address or range of IP addresses has access to a specific resource.
To access IP Protect:
- In the Lyve Cloud console, use the dropdown menu in the top menu bar to select the customer account.
- Select ADD RULE.
