- ASEAN (English)
- Australia/New Zealand (English)
- Belgique (Français)
- België (Nederlands)
- Brasil (Português)
- Canada (English)
- Canada (Français)
- Deutschland (Deutsch)
- España (Español)
- France (Français)
- India (English)
- Indonesia (Indonesian)
- Italia (Italiano)
- Latinoamérica (Español)
- Middle East/North Africa (English)
- Nederland (Nederlands)
- Polska (Polski)
- Portugal (Português)
- Singapore (English)
- Türkiye (Türkçe)
- United Kingdom (English)
- United States (English)
- 中国 (简体中文)
- 台灣 (繁體中文)
- 日本 (日本語)
- 대한민국 (한국어)
- 홈 /
- Lyve Mobile Rackmount Receiver /
- Device Connections
이 기사가 도움이 되었습니까?
이 기사를 더욱 유용하게 만들 수 있는 방법은 무엇입니까?
- Welcome
- Setup Requirements
- Rackmount Kit
-
Rack Assembly
- Step 1 - Attach M4 rack screws to the front rails
- Step 2 - Attach M4 rack screws to the back rails
- Step 3 - Attach cage nuts to rack
- Step 4 - Attach the front rails to the back rails
- Step 5 - Attach the rails to the front of the rack
- Step 6 - Attach the back rails to the back of the rack
- Step 7 - Tighten rail attachments
- Step 8 - Install Lyve Mobile Rackmount Receiver
- Recommended clearance
- Freestanding Latch Assembly
- Data Connections
- Power Connections
- Device Connections
- FC Network Setup for Windows
- FC Network Setup for Linux (RHEL/CentOS 8)
- Fibre Channel Network Setup for Linux (Debian/Ubuntu)
- iSCSI Network Setup for Windows
- iSCSI Network Setup for Linux (RHEL/CentOS 8)
- iSCSI Network Setup for Linux (Ubuntu/Debian)
- SAS Network Setup for Windows
- SAS Network Setup for Linux (RHEL/CentOS)
- SAS Network Setup for Linux (Debian/Ubuntu)
- Regulatory Compliance
Device Connections
Connect Ethernet port
Lyve Client communicates with devices inserted in Lyve Rackmount Receiver via the Ethernet management ports. Ensure that the Ethernet management ports are connected to the same network as the host devices running Lyve Client. If no device is inserted in a slot, there's no need to connect its corresponding Ethernet management port to the network.

Connect Seagate Lyve Mobile Array
Insert Lyve Mobile Array into slot A or B on Lyve Mobile Rackmount Receiver.

Slide device in until it snaps in place and is firmly connected to Lyve Mobile Rackmount Receiver's data and power. Close latches.

Turn on power
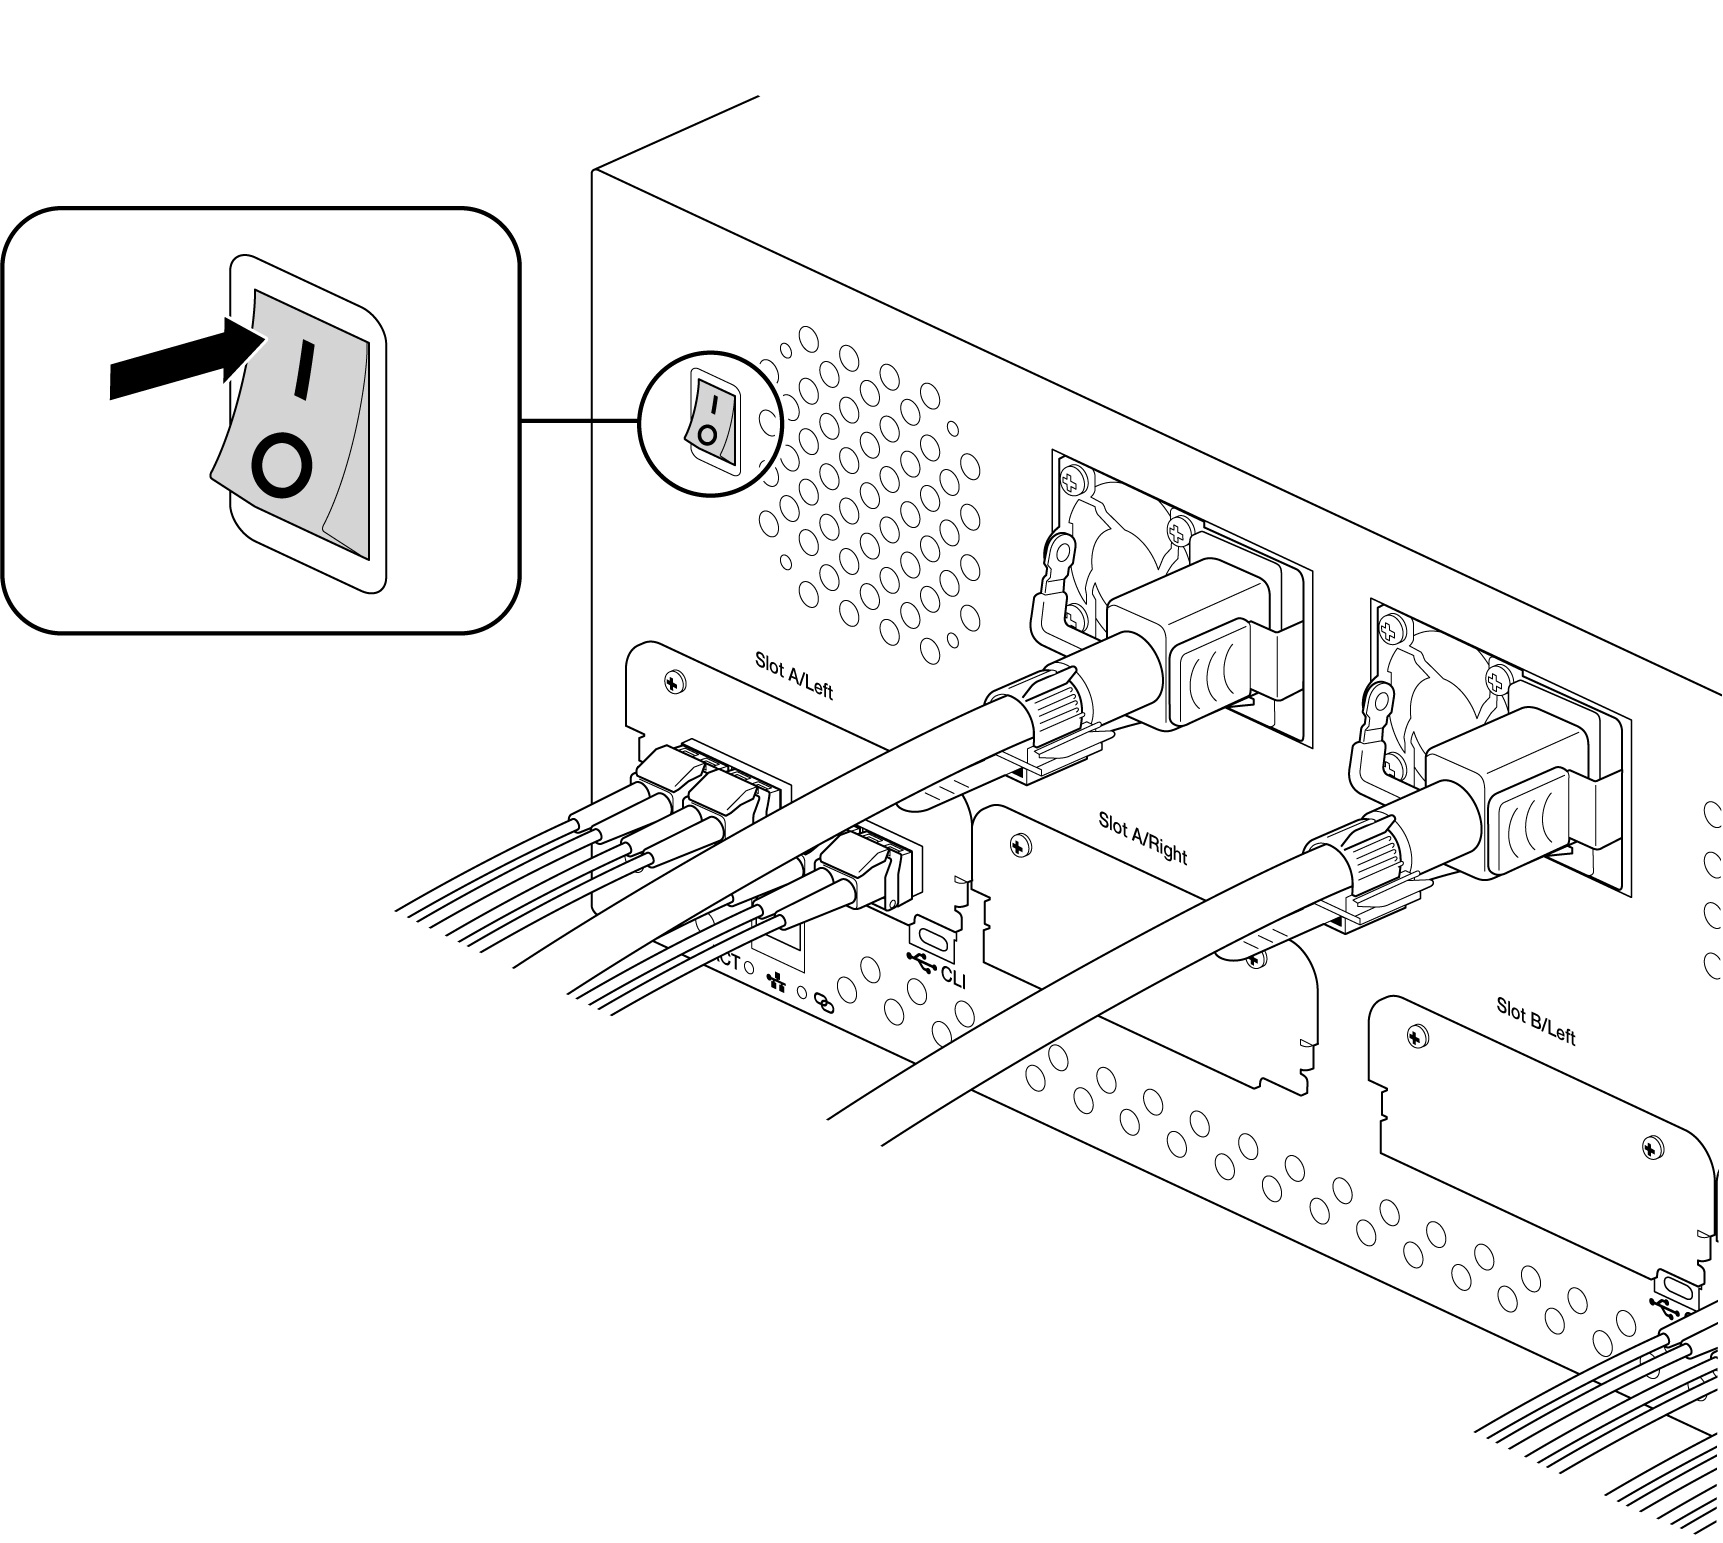
Set the power switch on Lyve Mobile Rackmount Receiver to ON.

Unlock the device
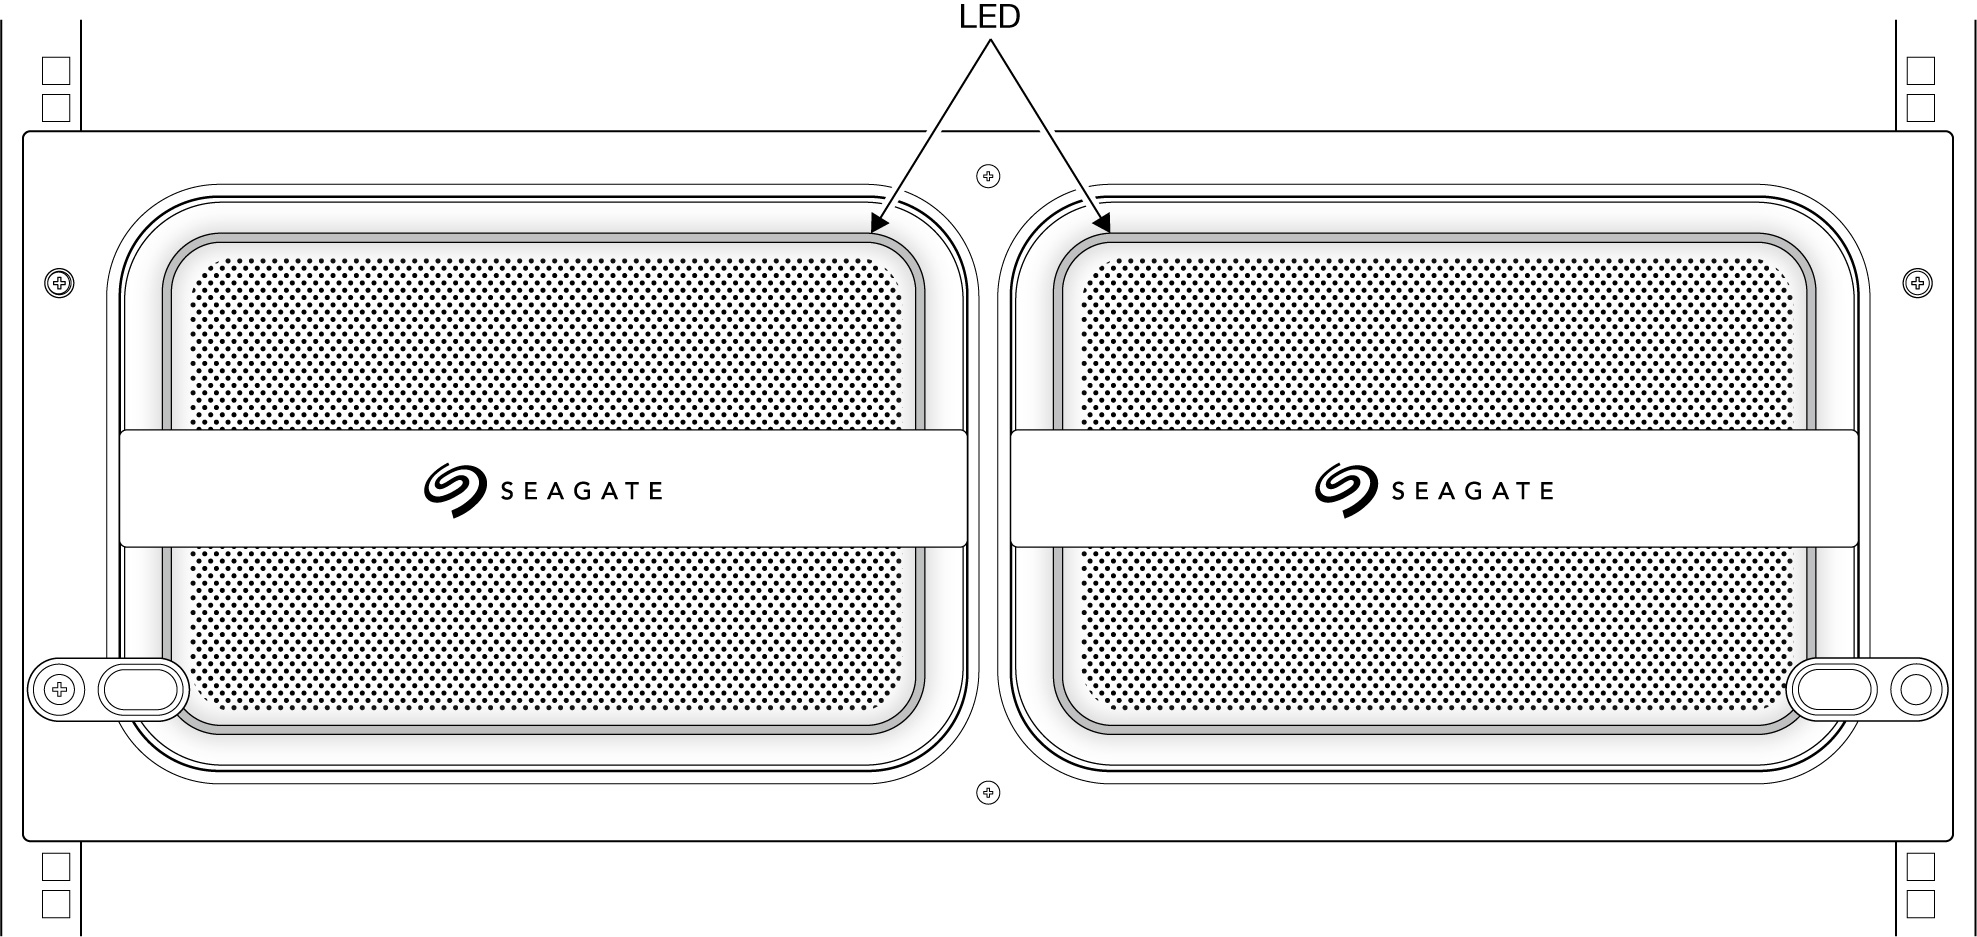
The LED on the device inserted in Lyve Mobile Rackmount Receiver blinks white during the boot process and turns solid orange. The solid orange LED color indicates the device is ready to be unlocked.

Make sure the Lyve Client app is running on the host computer. The host computer will automatically unlock the device if it connected to it in the past and is still authorized for security. If the host computer has never unlocked the device, you will need to enter your Lyve Management Portal username and password in the Lyve Client app. See Setup Requirements. See Setup Requirements.
Once Lyve Client has validated permissions for the device connected to the computer, the LED on the device turns solid green. The device is unlocked and ready for use.
Safely removing a device
Your computer must perform filing and housekeeping operations on your Lyve device before it is physically removed from Lyve Mobile Rackmount Receiver. To avoid corrupting or damaging files, always eject the device’s volumes from your computer using the Lyve Client app or your computer operating system before physically removing the device.
To avoid muscle strain or back injury, use proper lifting techniques when removing devices from Lyve Rackmount Receiver.
Lyve Mobile Rackmount Receiver User Manual