Items to Note:
- It is recommended to always perform a Clone from the DiscWizard Boot CD. This article is for those who want to attempt a clone from inside Windows on a desktop computer with both drives attached directly to the SATA/PATA motherboard.
- DiscWizard will not clone a single partition. It will only clone an entire disk.
- Source disks can be cloned to your destination "as is" or resized.
- It is strongly suggested not to format your source disk or discard it after the clone until you are confident that the new disk boots properly.
- Only Basic Disks can be cloned. Dynamic Disks cannot be cloned using Seagate DiscWizard.
- Launch the DiscWizard software.
- Under the Tools tab, click Clone Disk.
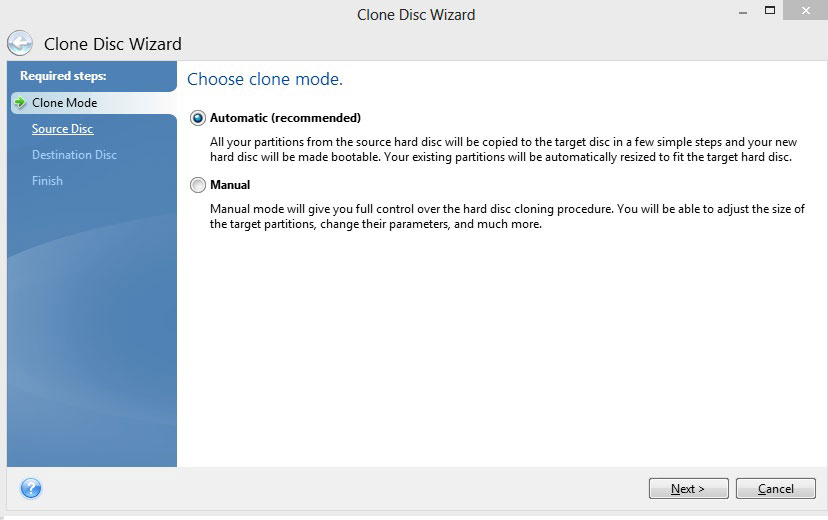
- Select the Automatic Mode to have the source drive's partitions automatically and proportionally resized to fit the new drive.

- Select your old hard drive as the Source Disk, then click Next.

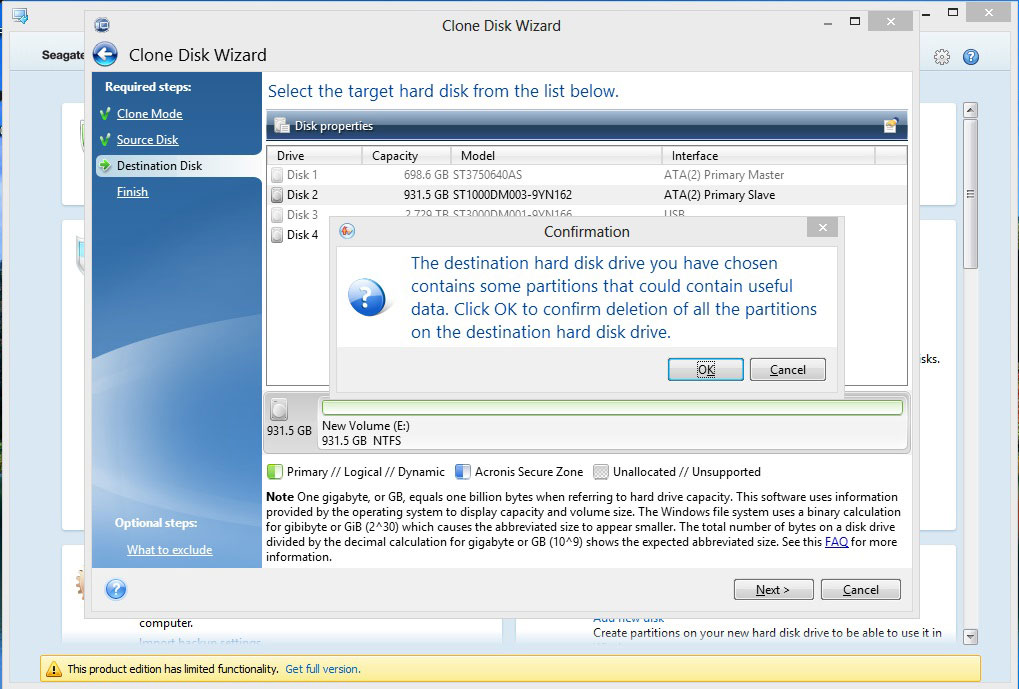
- Select the new hard drive as the Destination Disk, click Next.

- If the destination drive has been partitioned, click OK to allow DiscWizard to erase all the partition on the drive before performing the clone.

- Review the operation and summary screen, then click Proceed.

- The clone will start and display a progress Window.

- If you are cloning a disk with a currently active operating system, the program will ask for a reboot. Click Reboot to continue cloning:

**If you click Cancel, the job will be aborted.
- The computer will reboot into a pre-Windows environment where the clone will be performed. Once the clone has completed, you can shut down the computer and remove the original source drive.
*For more information regarding DiscWizard, you can access the built-in help guide through the Help tab located on the left side of the software.


