Business Storage Rackmount Network-Attached Storage devices include two Ethernet ports for connection to your router. You can link them together for:
- Bonding: Up to two times the bandwidth and backup in case one of the ports/cables fails.
- Fault tolerance: Prevent downtime due to port/cable failure. The NAS will immediately switch to the working Ethernet connection. Fault tolerance is more efficient at determining a connection problem than bonding.
Please note that for those options to work properly, your router must support port aggregation. To see if your router supports that feature, please refer to your router’s documentation.
Bonding - Optimized for load balancing
Both Ethernet ports work together to stabilize traffic speeds. Please follow this procedure to configure the device this way:
- Access the administrator's page of the Rackmount NAS by launching the Seagate Network Assistant and pressing the Web access to the NAS OS button, or by typing the IP address of the device in the address bar of a web browser.
- On the left sidebar, under Settings, select Network.
- Select the Connections tab.
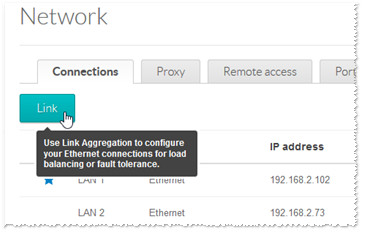
The two Local Area Networks (LANs) display. - Press the Link button.

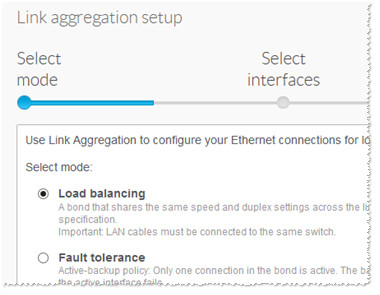
- Check the Load balancing button, then select Next.

- Check the boxes for both of your LANs, then select Next.
- Enter a name for the setup. (Seagate recommends setting the IP address as static for this purpose. Once the settings are all set, select Finish to complete the process.)
Fault Tolerance
You can configure the LANs so that the secondary connection will take over in case a problem occurs with the primary connection. If the primary connection became inactive, corrupted, or if it dropped offline, the second connection would automatically become active.
Please follow this procedure to configure the device this way:
- Access the administrator's page of the Rackmount NAS by launching the Seagate Network Assistant and pressing the Web access to the NAS OS button, or by typing the IP address of the device in the address bar of a web browser.
- On the left sidebar, under Settings, select Network.
- Select the Connections tab.
The two Local Area Networks (LANs) display. - Press the Link button.
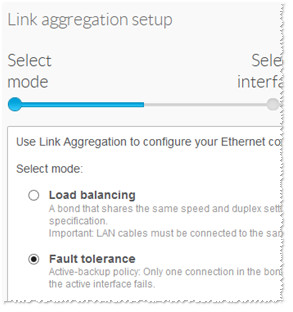
In the popup window, put a check mark next to Fault Tolerance and click on Next.

- Check the boxes for both of your LANs, then select Next.
- At the next window:
- Choose the logical detection and enter the IP address of the primary connection. Seagate recommends setting the IP address as static for this purpose.
- Select a time frame at which the NAS device will test the connection to make sure it is still active within seconds.
- Select Next when finished.
At this point, the device has set up the aggregation link and, going forward, it performs an automated detection test according to the time frame that you selected. If, for any reason, the main connection fails to respond to that detection test, the NAS device will automatically switch to the second connection to prevent any interruption in workflow.


